Yes, its time to reveal the technique of how to make beautiful Easter lillies (Lilium longiflorum) which are one of my favorite flowers to make in polymer clay. I have composed step by step instructions below and also step by step pictures, so get some clay, all you need is a minute amount, a needle tool, some paints, a wire (optional) and start sculpting!
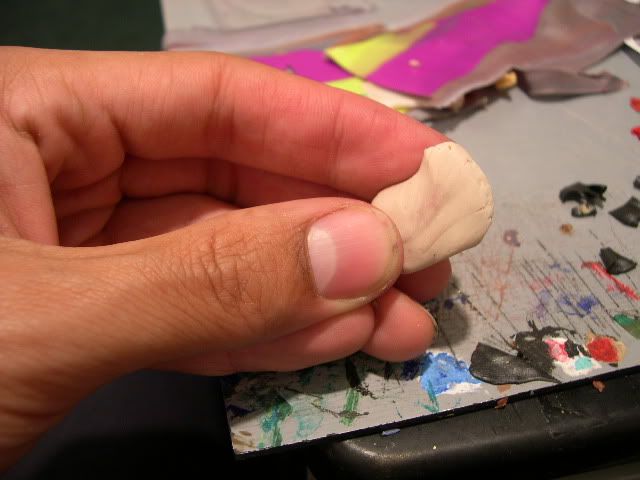
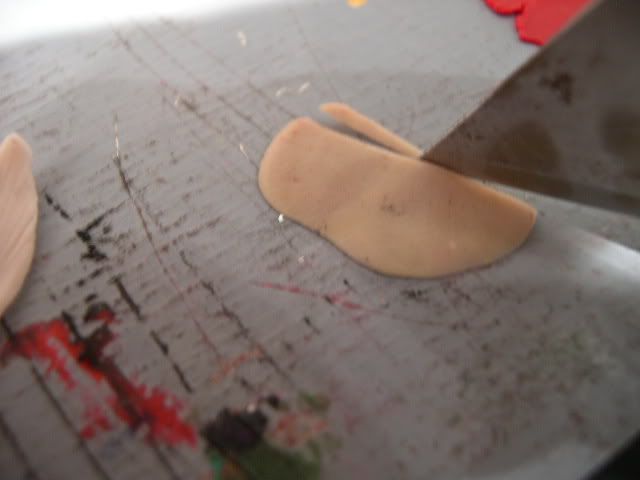
You need to begin with a piece of clay about the size of a large marble, there will be lots of excess left over, but you want enough to draw your petals on.
I usually choose white clay for lillies, but this clay is a beige or off white color.
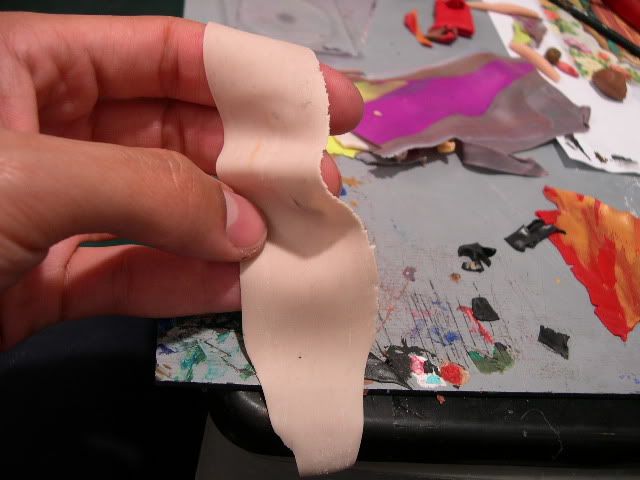
Next, roll out your clay with a roller or pasta machine until it is about as thin as three or four sheets of paper, the thinner the better, but not so thin that it breaks when shaping.
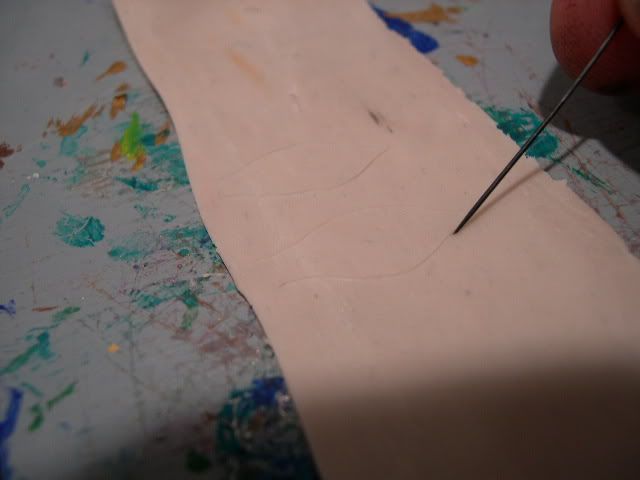
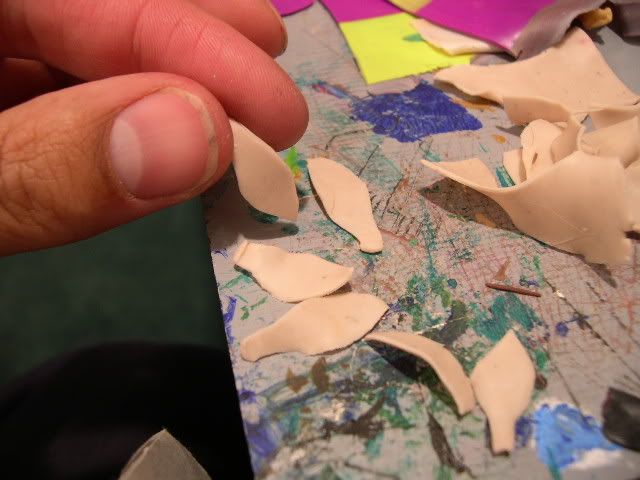
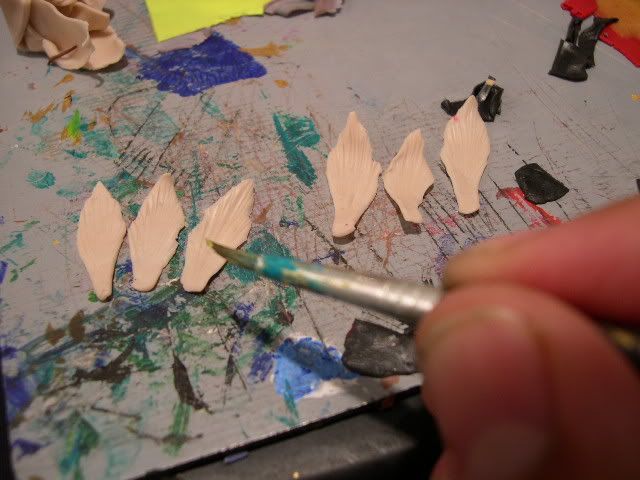
I take my needle tool and etch in the shape that the petals will be, for lillies you will need to make six petals, I make three slightly bigger and three slightly smaller since the last three will be behind the first three.
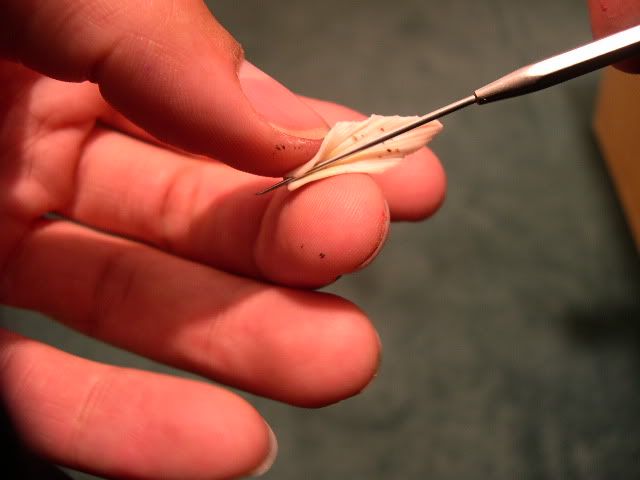
Next cut out your petals, you can just cut them out with the needle, I use scissors.
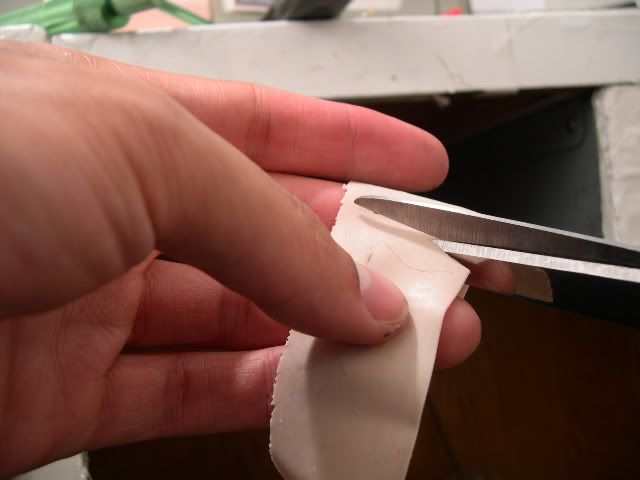
Your petals may not look all that great, but keep faith that the finished product will be a work of art! Be sure to keep a little base to each petal since lillies are trumpet-shaped.
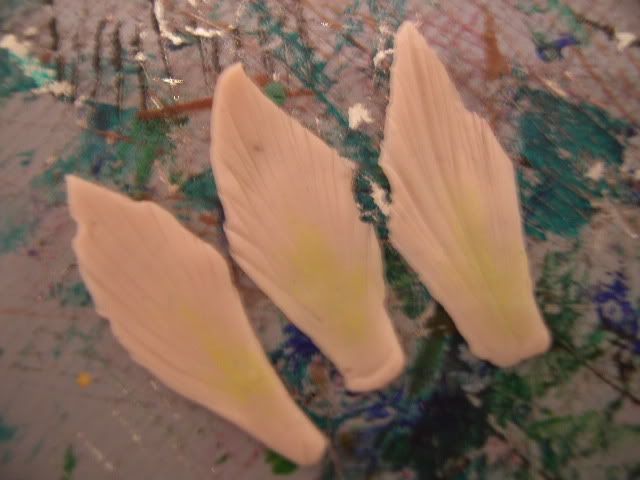
Next step, etch lines into the petals, this makes them more detailed and like the real thing, skipping this step does make interesting deco-flowers.
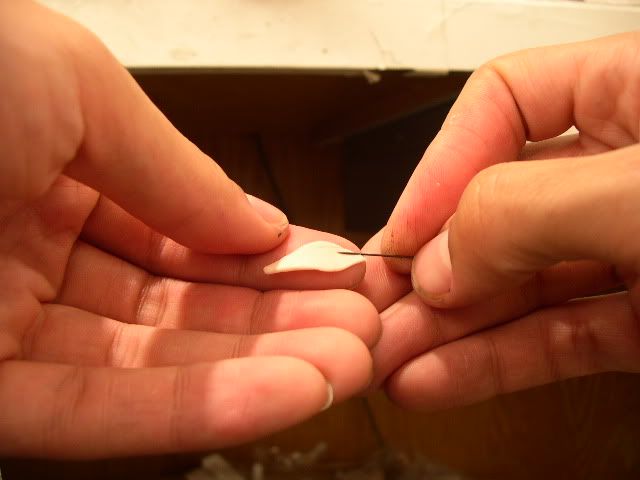
Your petal may be starting to look like a leaf, but dont despair, continue to the next step.
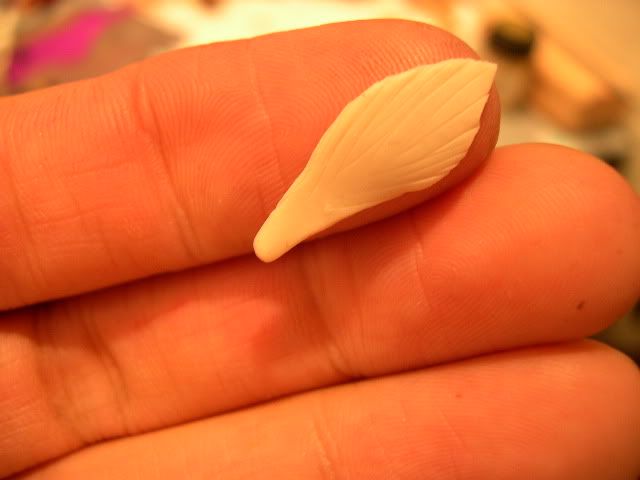
Real lillies dont really have this, but I find that it makes the flower more realistic and weathered looking to actually create irregularities in the petal edges.
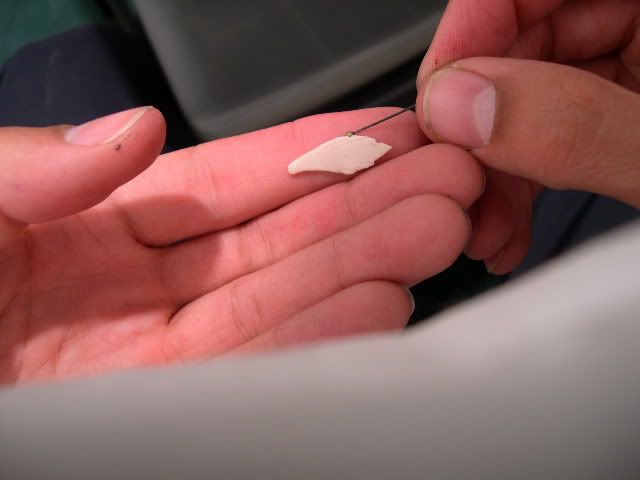
Repeat this procedure until all six petals have lines and "rough" edges.


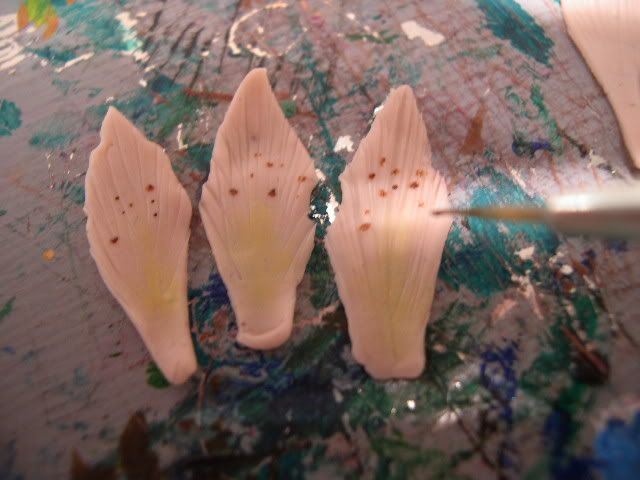
Lillies have a yellowish interior to their flowers so take some water based paint (yellow) and water it down and just wash the bottom of three petals (the smaller inner ones) as shown in the following pictures.
Using the same three petals (these are the inner ones remember), get some brown paint and paint speckles on the petals, a couple of big ones and smaller ones will do, remember less is more.
Now it is time to work on the inner part of the flower, the stalk in the middle which I'm not sure is called a style or a pistil, so I will call it the stigma (since I know its capped by this) and the filaments, creating anthers is a bit overboard if you ask me, so my filaments remain without them.
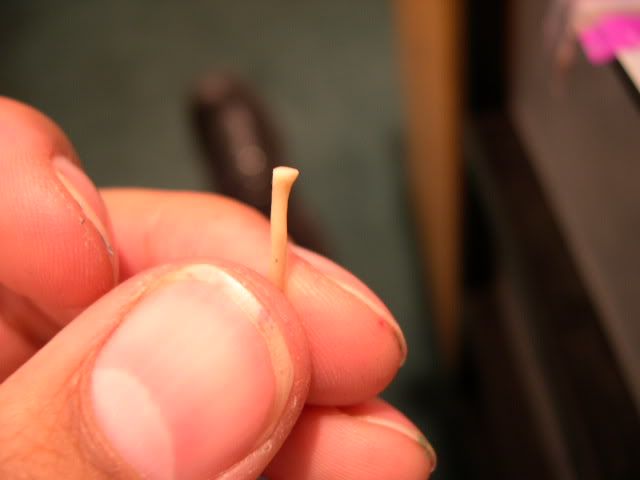
Cut the Stigma out of some of the leftover clay you have, make it shaped like a golf club.
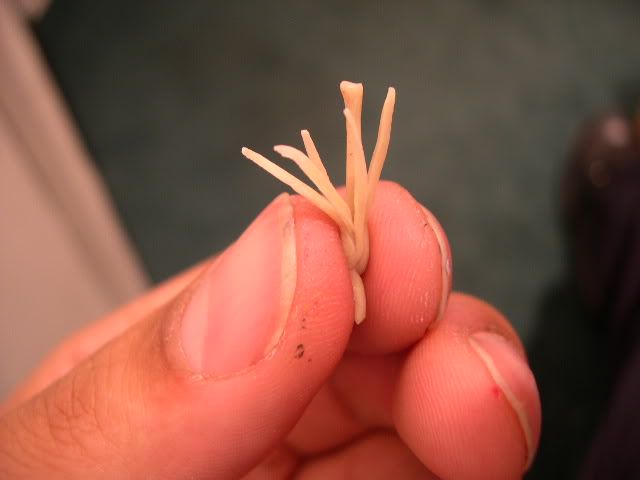
The filaments are created the same way, but cut them out in thinner, shorter strips of clay, you want to have five or six of them.
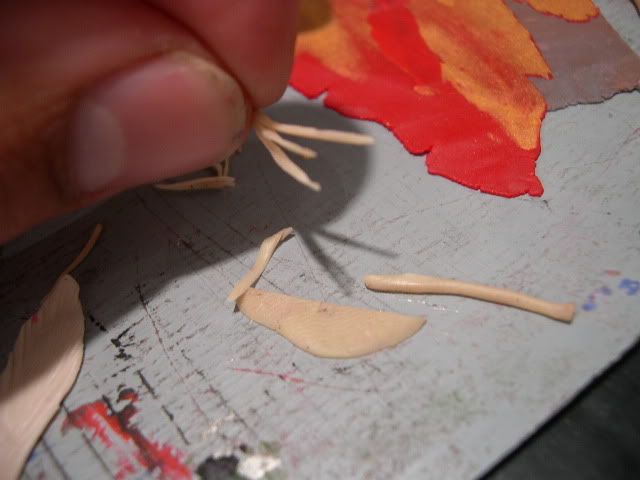
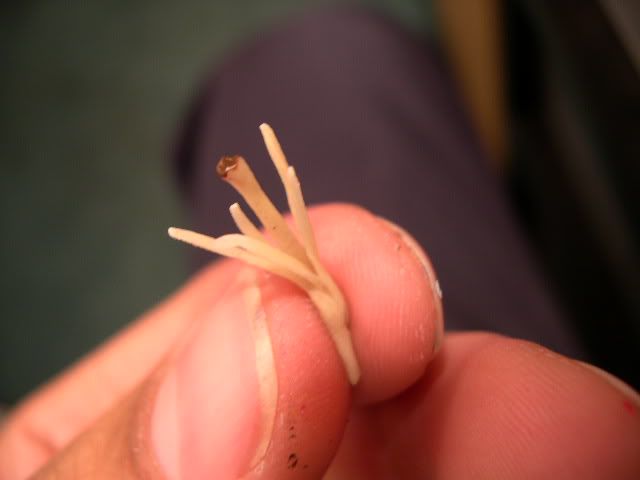
The stigma:
And the filaments added around it.
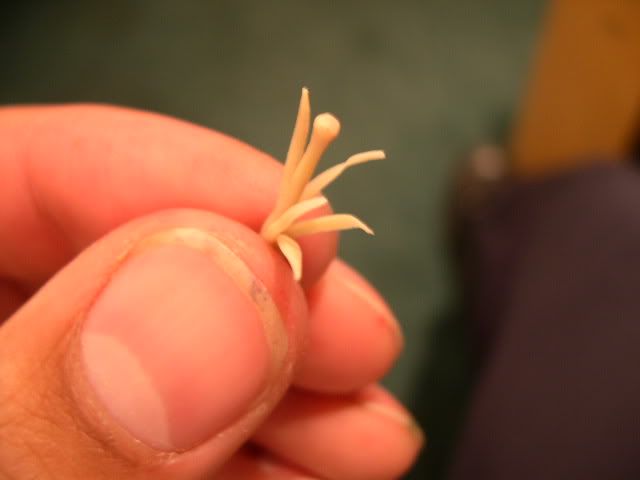
Take the brown paint you used on the petals and paint the tip of the stigma with it, don't worry if real Lillies have white stigmas :)
Hopefully this entire time you have been making the parts to the flower you have been thinking about your finished product, if not, now is the time!
Take the three inner petals and wrap their ends around your needle tool to round them.
Recap, you should have what I have here, six petals scored with lines and edges roughed up, three of these are painted and have their bases rounded. Also included here is the optional wire, I used a paper clip since its inexpensive and easy to obtain.
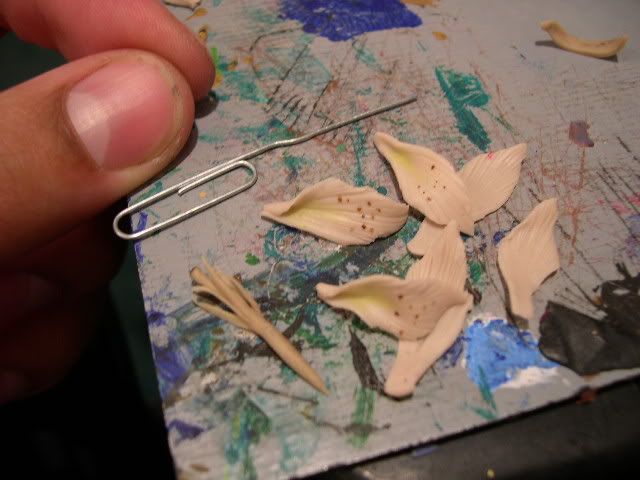
This is optional!
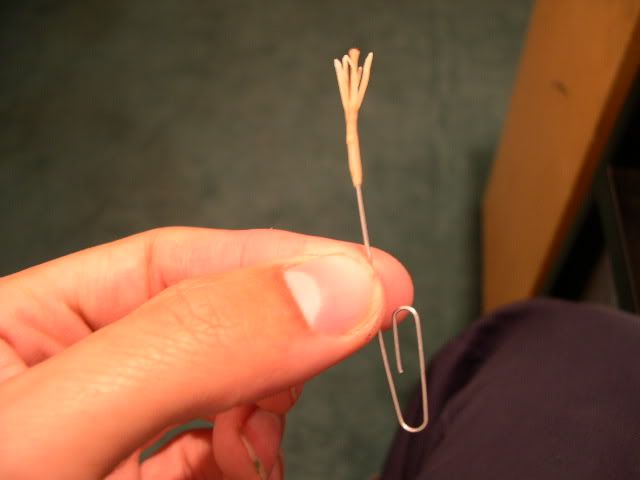
Insert the inner flower part onto the wire for support.
Now the real fun begins, begin attaching the flower petals onto the flower. Use your best petal first as it will always be able to be seen when people are looking at your flower, the other two petals may be partially behind the first one so keep that in mind.
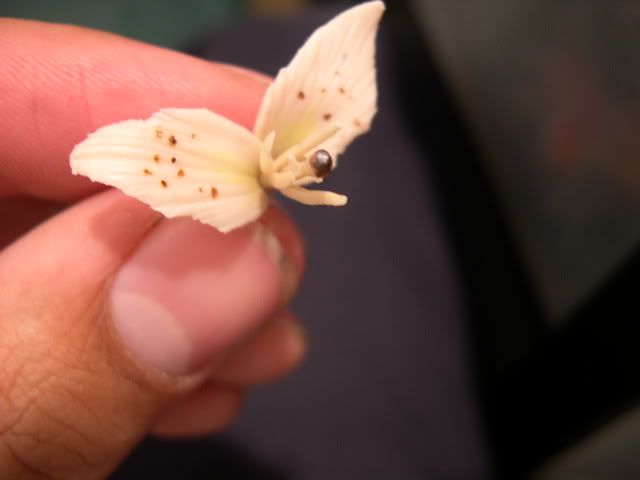
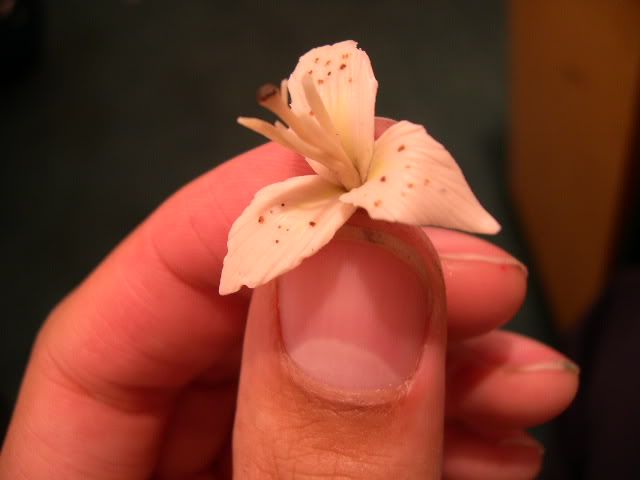
Once the first three painted petals are on, begin to place the other three backing petals onto the flower, they go in between the first three as pictured.
Yay, you made something beautiful, admire it!
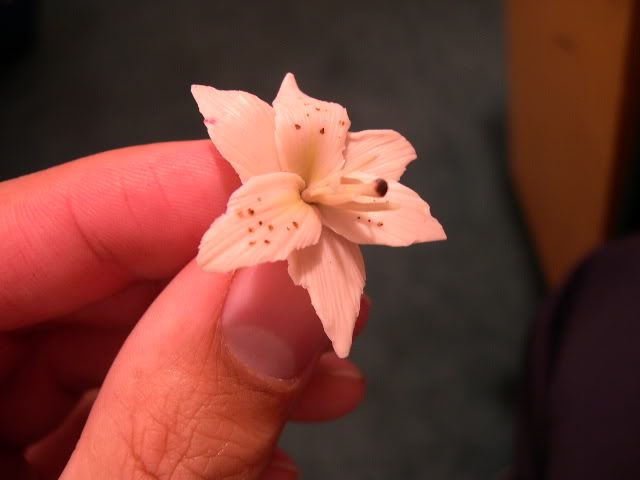
You can also curl the edges of the petals to make it look like an older flower, or pull the petals forward and make a more trumpet shape for a younger flower look.

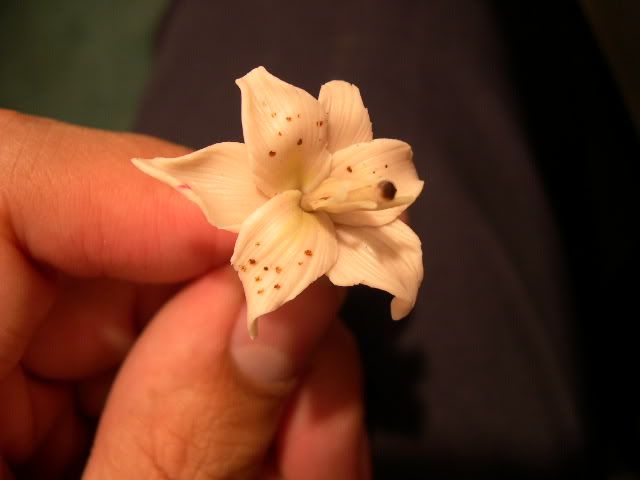
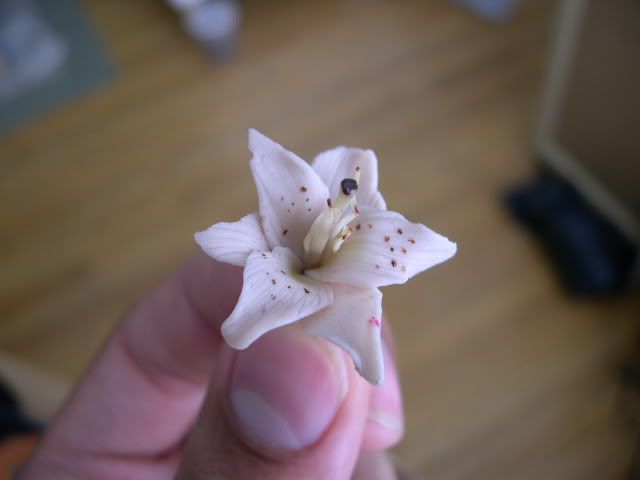
And that's all folks, after you bake your polymer clay flower the shininess will disappear and you will never stop being asked, "did you really make that?"
Good luck!
-Pedro Ramirez Jr
i cant wait to give it a try!
ReplyDeleteI am totally intrigued and impressed by your ability to create such delicate, detailed, beautiful items!
ReplyDeletewow. beautiful, if only I had the patience and dexterity to really enjoy polymer. **sigh**
ReplyDeletethose are beautiful! Even after seeing the pictures I still have the "did you really make that" astonishment at the last photo!
ReplyDeletePedro, this is just fabulous! I cannot wait to make several!!!
ReplyDeletehei , supercalifragilistic
ReplyDeletevery interesting tutorial!
ReplyDeletelove it! thank you
ReplyDeleteIt looks so easy when you do it. I cant wait to try it.
ReplyDeleteAbsolutely awesome! Looks just like a real flower, great job!
ReplyDeleteI haven't done any polymer clay work yet - am just getting the pasta machine. These are gorgeous and your instructions are priceless !!
ReplyDeletehttp://www.fishingcostaricaexperts.com/
ReplyDeleteCosta rica Fishing
WOW!!! I love love this!! Thanks to good ole Google I found your tutorial!!
ReplyDeleteDelighted Momma
Thank you it is a good support, now to make a polymer clay flower (lily) is simple by using your advice. Thank you
ReplyDeleteVisit us now to obtain more information and facts regarding to
ReplyDelete[url=http://www.bsn-nutrition.pl/true-mass.html]BNS Nutrition True Mass[/url]
Thanks a ton it has been a good help, now to make a polymer clay flower (lily) is simple and easy utilizing your advice. Kudos
ReplyDeleteThank You a ton for writing such a wonderful piece of information. Keep sharing such ideas in the future as well. This was actually what I was looking for, and I am glad to came here! Thanks for sharing the such information with us.
ReplyDeletevery nice tutorial. this is wat i was looking for.thank you
ReplyDeleteHi, Nice work, I think this is what I read somewhere. Hugs.
ReplyDeleteI can't wait to experiment with the clay and techniques! Thanks for sharing your expertise!
ReplyDeleteThanks for sharing! Excellent work!
ReplyDeleteThanks for sharing! Excellent work!
ReplyDeleteI am regular visitor, how are you everybody? This post posted
ReplyDeleteat this web site is in fact nice.
Here is my blog post :: Sexy Asian girlfriend fingers her wet pussy
It's hard to come by knowledgeable people for this topic, but you seem like you know what you're talking about!
ReplyDeleteThanks
Also see my website: free porn tube
Thanks to my father who stated to me on the topic of this
ReplyDeleteweb site, this weblog is really awesome.
My web site : porno
My spouse and I stumbled over here different website and thought I should check things out.
ReplyDeleteI like what I see so now i am following you. Look forward to looking into your web page
again.
My webpage > Way to repair a flat
Great article! We will be linking to this particularly
ReplyDeletegreat article on our website. Keep up the great writing.
my web site - amateur girls
I was suggested this web site by my cousin. I am
ReplyDeletenot sure whether this post is written by him as
nobody else know such detailed about my trouble.
You are amazing! Thanks!
Here is my weblog ... creative ways to make money online
Hi there! Someone in my Myspace group shared this website with us so I
ReplyDeletecame to look it over. I'm definitely loving the information. I'm bookmarking and will be tweeting this to
my followers! Great blog and great design.
My blog post usa online casinos
Beautiful....I can't wait to try this as well. Thanks so much for sharing..
ReplyDeleteThat is very attention-grabbing, You're an excessively skilled blogger. I have joined your feed and look ahead to looking for extra of your magnificent post. Also, I have shared your web site in my social networks
ReplyDeleteMy web page - click through the next document
I was able to find good advice from your blog posts.
ReplyDeleteFeel free to visit my web blog real money slot machine
I really like your blog.. very nice colors & theme.
ReplyDeleteDid you create this website yourself or
did you hire someone to do it for you? Plz reply
as I'm looking to construct my own blog and would like to find out where u got this from. cheers
Here is my web page :: Affiliate Marketing
Nice post. I was checking continuously this weblog and I am impressed!
ReplyDeleteVery helpful info particularly the closing phase :) I care for such info a lot.
I was looking for this particular information for a long time.
Thank you and best of luck.
my site :: job search
Write more, thats all I have to say. Literally, it seems as though you relied on
ReplyDeletethe video to make your point. You obviously know what youre talking about,
why throw away your intelligence on just posting videos to your site when you could be giving us something informative to read?
My website; best ways to earn money online
This is a good tip especially to those new to the blogosphere.
ReplyDeleteShort but very accurate info… Many thanks for sharing this one.
A must read article!
My web-site - how to earn money online
my website - easy ways to make money fast online
Hi there, just became alert to your blog through Google,
ReplyDeleteand found that it's truly informative. I am gonna watch out for brussels. I'll appreciate if you
continue this in future. Many people will be benefited from your writing.
Cheers!
Check out my site binary options strategies
Howdy! I'm at work surfing around your blog from my new apple iphone! Just wanted to say I love reading through your blog and look forward to all your posts! Carry on the fantastic work!
ReplyDeleteHere is my web page ... autosurfersonly
Aw, this was a really nice post. Taking a few minutes and actual effort to generate a very good article…
ReplyDeletebut what can I say… I put things off a lot and don't manage to get nearly anything done.
Feel free to surf to my weblog ... How To Make money not online
I've never worked with clay before and just bought some polymer clay and can't wait to try it out.
ReplyDelete